
Milberry Green Meadows Crafts: How To Decorate a Bin
- Moira
- Dec 21, 2022
- 2 min read
Here at Milberry Green Meadows we think it's the little details that count. We love something handmade. While it might not be perfect, it will be unique and made with love. We're big fans of crafting, upcycling and all that jazz. Here, we show you how to beautify the humble bin. My sister is the arty one so she did the difficult bits! (I've included links to the products we used and just so you know, we do get a small commission if you buy anything.)

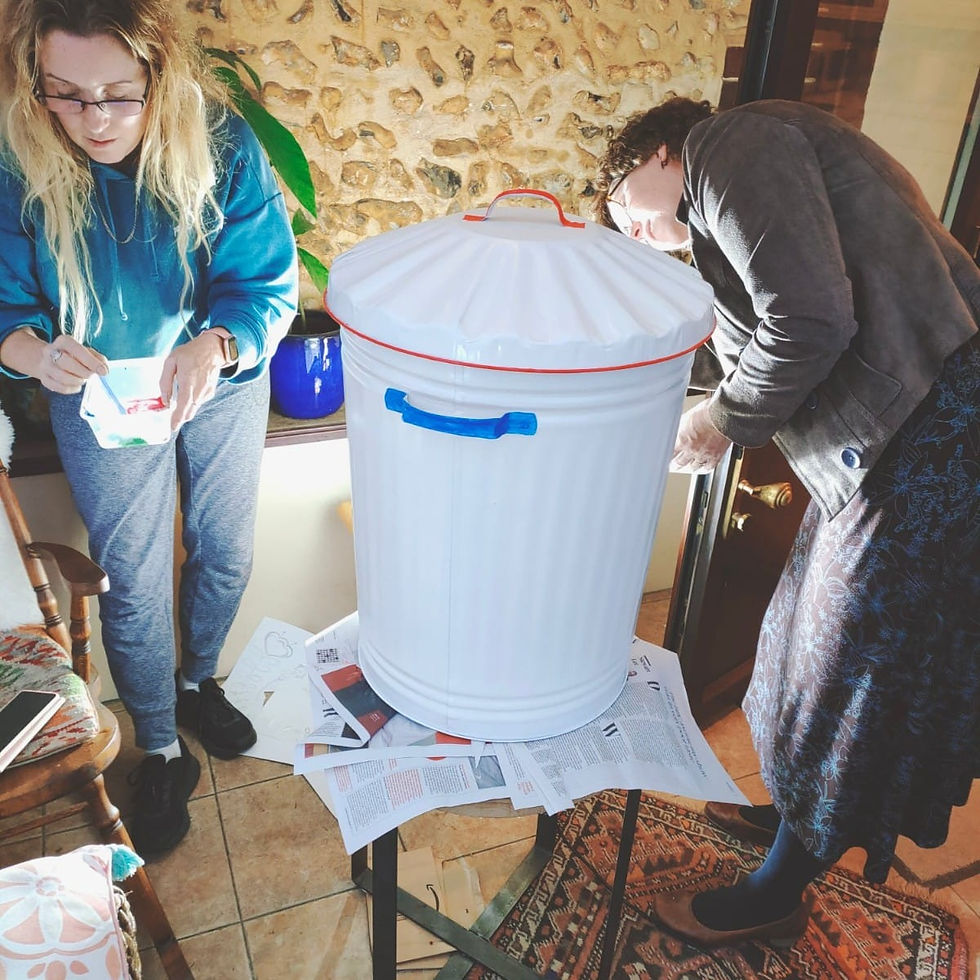
Source an aluminium bin. You can buy the ones we used here. If you have an old bin, all the better, but make sure it's clean and dry before you begin.
Paint the bin with your base colour. We went for a neutral cream which you can buy here, but you can get a wide range of colours. We used an acrylic spray paint. You have to do this bit outside for safety's sake.
Decide on your design. This is the fun bit. We went for a folk art vibe and my sister researched a few designs online. One of our bins has a design on both sides, the other just has one large design - it's up to you!
Transfer your design onto the bin. My sister drew it out by hand onto a piece of paper first and then cut it out and traced around it onto the bin using chalk pens like these. Just be careful as the chalk pens don't quite disappear when you rub them out, so use a light colour.

If you're not quite so confident you might want to trace your design onto tracing paper first using a graphite pencil. Then tape your design to the bin, pencil side down and draw over the lines to transfer your design to the bin.

Colour your design in. We used acrylic paints and brushes from the craft box like these ones.

We added a few squiggles and coloured in the handles (my job!) too.
Voila, your beautiful new bin!

Comments